Last week I have been contacted by meanmedianmoge: «I’m reaching out to you because I’m working on curating “patch packs” to add to factory ZOIA SD cards and make available to ZOIA users. I’m wondering if we could use some of your patches for these packs?»
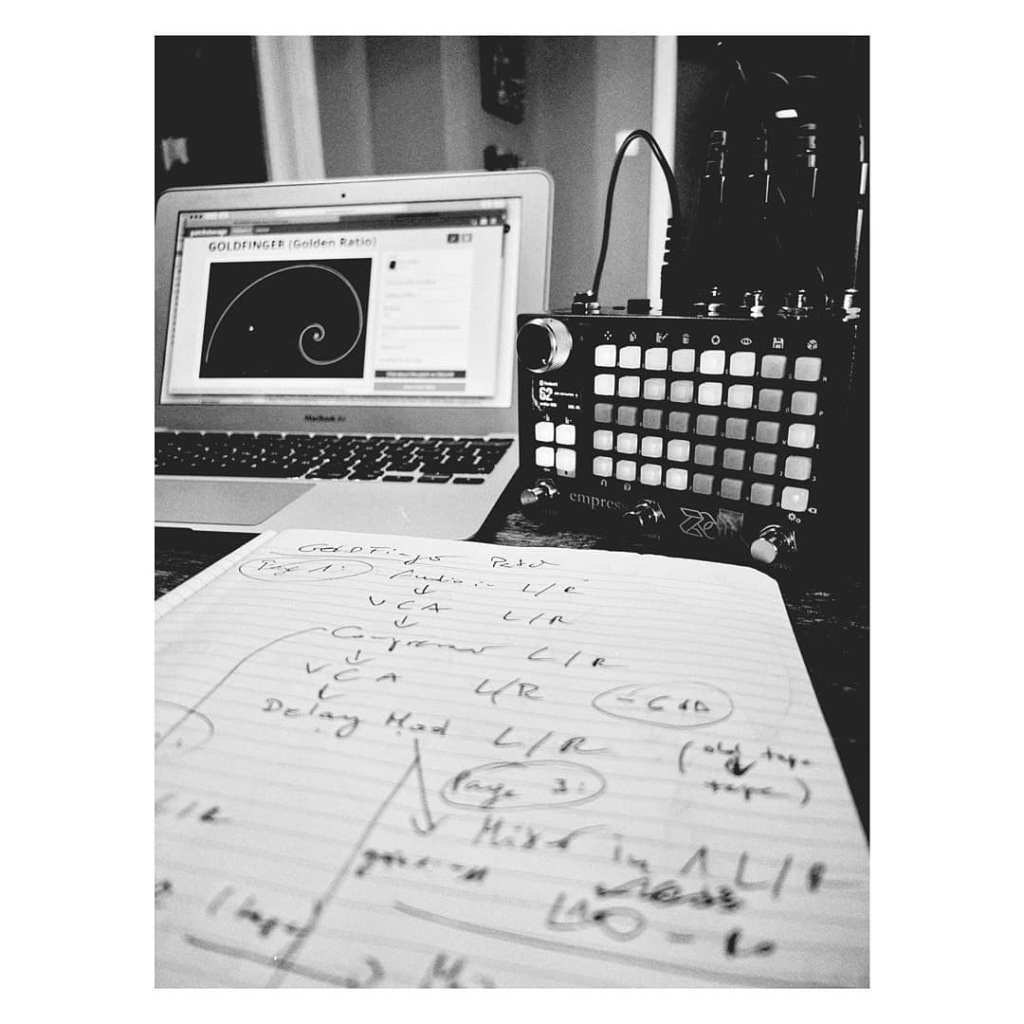
This was a great opportunity to redo my favourite patch right before the vacation! So, here it is: This is my reissue of the GOLDFINGER – Golden Ratio Delay patch from three years ago. The new patch comes in two versions. Both are fine for Ambient with some gimmicks under the hood. Designed for bass, guitar & synths. Have fun customizing or just playing! Available for free at: www.patchstorage.com
The patch
- GOLDFINGER 1 is a Golden Ratio patch based on four different delay times. These delay times can be freely combined with each other. Additionally a reverb can be added. Designed for bass/guitar. Also works with synthesizers.
Page 1: Cockpit – The heart of the patch
>>>Two rows of “In Switches” in orange (gold). Here, the individual delay times are selected via the Channel button (second to last in the row, or directly under the Eye sign). There are four channel settings per delay: Slow, Medium, Fast, Fast +. These are calculated and adjusted by me using the Golden Ratio formula. The values are rounded up or down. Ch3 and Ch2 are stored as presets. The delay times are freely combinable, but not adjustable in a certain sense.
>>>Two rows of “pushbuttons” in white. These create glide effects. Works like the channel settings Ch1-Ch4 per row. Is really just a gimmick.
>>>Stomp switch on the left: turns on plate reverb.
>>>Stomp switch center: turns on the “freeze” function of the plate reverb. Only works if the stomp switch on the left is switched on!
>>>Stomp switch right: Switches on the compressor.
Page 2: Operator
>>>Mixer: Here you can generally adjust the gain of the individual delays. If necessary, the panorama can be changed according to the mood. If the patch initially comes in mono, quickly go to page 2 and briefly turn the Pan 1 knob “L100-R0” back and forth in the mixer. The stereo sound will then come alive again.
>>>Compressor: Is freely adjustable. The initial setting is the factory setting.
>>>Reverb: Is set to a short and long reverb, which can be switched on and off completely with the stomp switch. Stompswitch center: Turns on the “freeze function” of the plate reverb. Only works when the left stompswitch is on! I chose the Plate Reverb because, unlike the Tape Delays, it brings a nice coldness. The long reverb generally reminds me of a freeze sound, which can be used to create soundscapes. The settings of the reverb are freely adjustable. See -> Mix=33.
Page 3: Operator 2
>>>Delay 1: Setting is set to “Old Tape”.
>>>Delay 2: Setting is set to “Tape”.
The settings can be adjusted as desired.
The remaining pages are VCAs, Audio In & Outs, etc.
>>>Important: If the patch initially comes in mono, quickly go to side 2 and briefly turn the Pan 1 knob “L100-R0” back and forth in the mixer. The stereo sound will then come alive again. Sorry about that, haven’t figured out what that might be about yet! I am now off on vacation.
- GOLDFINGER 2 is a golden ratio ambient patch based on its predecessor. Designed for synthesizers. Also works with bass/guitar.
Page 1: Cockpit – The heart of the patch
>>>Two rows of “In Switches” in orange (gold). Here, the individual delay times are selected via the Channel button (second to last in the row, or directly under the Eye sign). There are four channel settings per delay: Slow, Medium, Fast, Fast +. These are calculated and adjusted by me using the Golden Ratio formula. The values are rounded up or down. Ch3 and Ch2 are stored as presets. The delay times are freely combinable, but not adjustable in a certain sense.
>>>Two rows of “pushbuttons” in white. These create glide effects. Works like the channel settings Ch1-Ch4 per row. Is really just a gimmick.
>>>Stomp switch on the left: turns on the reverb.
>>>Stomp switch center: turns on the “freeze” function of the second reverb. Works independently of the first reverb.
>>>Stomp switch right: Switches on the compressor.
Page 2: Operator
>>>Mixer: Here you can generally adjust the gain of the individual delays. If necessary, the panorama can be changed according to the mood. If the patch initially comes in mono, quickly go to page 2 and briefly turn the Pan 1 knob “L100-R0” back and forth in the mixer. The stereo sound will then come alive again.
>>>Compressor: Is freely adjustable. The initial setting is the factory setting.
>>>Delay 1: Setting is set to “Old Tape”.
>>>Delay 2: Setting is set to “Tape”.
The settings can be adjusted as desired.
Page 3: Operator 2
>>>Reverb: Two independent reverbs channels (true stereo) that can be completely turned on and off with the left stomp switch. Center Stompswitch: Turns on the “freeze function” of the Hall-reverb. I chose the Hall-reverb because, unlike the two reverb channels, it brings a nice foundation that becomes audible after a while. The general interaction of the different reverbs is very nice, which can be used to quickly create soundscapes. The settings of the reverb are freely adjustable.
The remaining pages are VCAs, Audio In & Outs, etc.
>>>Important: If the patch initially comes in mono, quickly go to page 2 and briefly turn the Pan 1 knob “L100-R0” back and forth in the mixer. The stereo sound will then come alive again. Sorry about that, haven’t figured out what that might be about yet! I am now off on vacation.
